Registering Files to Index
By registering files to the index, you can apply various AI functions to those files.
Ask Questions about Document Files
Register Files to Index
- Right-click the file you want to register and select "Add this file to the index." Registration is complete when the AI status icon of the selected file becomes a checkmark
 .
.
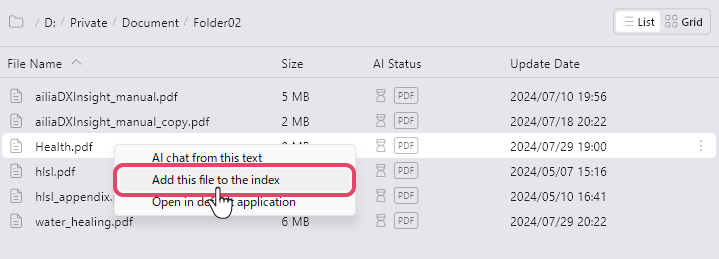
- Right-click the folder, and select "Add files in this folder to the index" to register all files in the folder to index.
Removing Files from Index
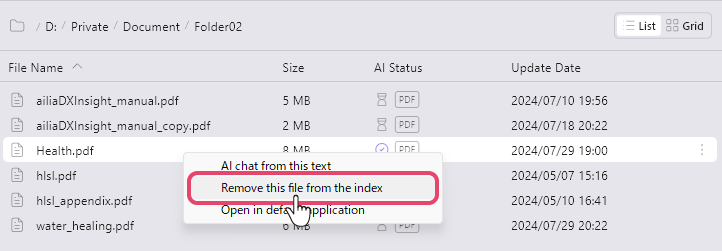
- If you want to remove it from the index, right-click the registered file and select "Remove this file from the index." Removal is complete when the AI status icon of the selected file becomes an hourglass
 .
.
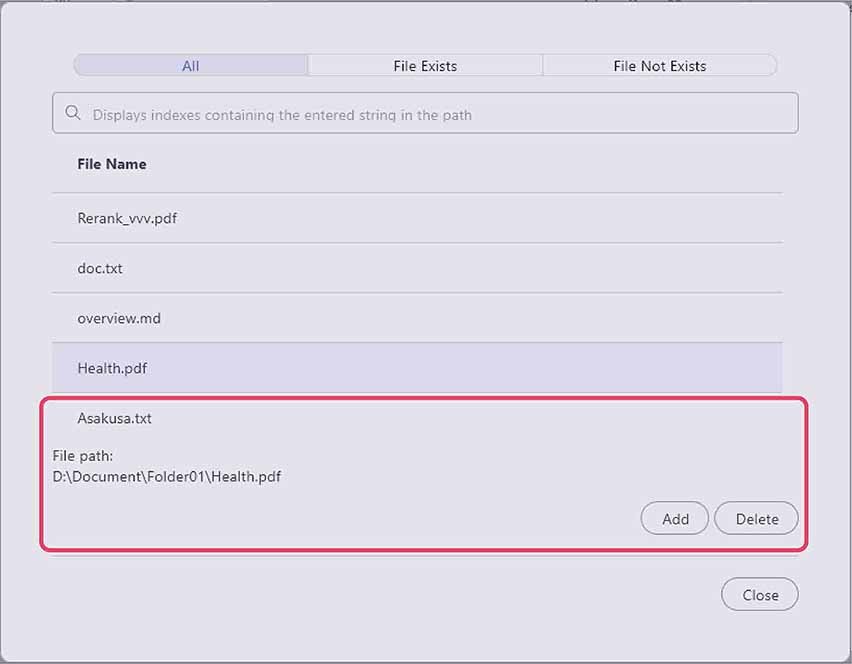
Manage registered indexes
You can check/manage the data registered in the index as a list.
- Select “Index” in the settings of ailia DX Insight
 .
. - Select “Open” in the “Registered Index List”
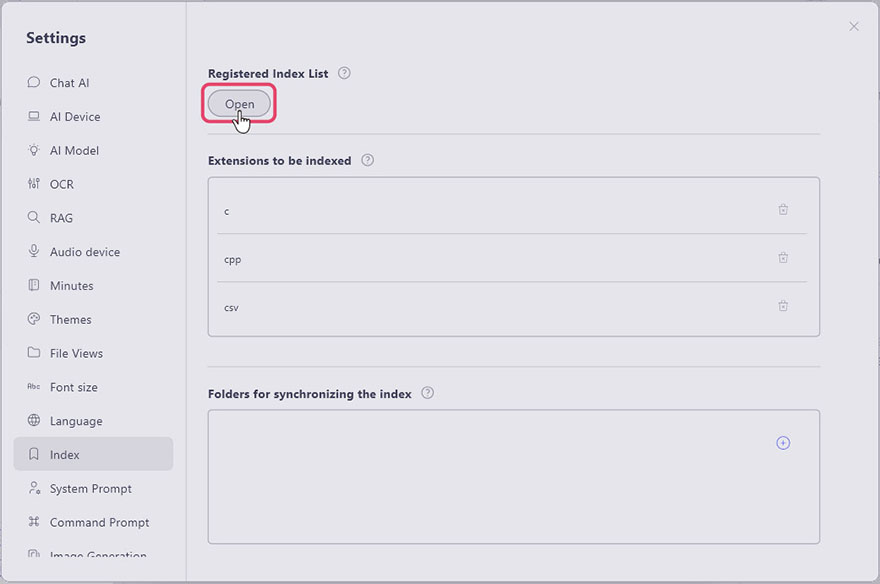
- A list of files registered in the index will be displayed. You can also add new files to the index or remove selected files from the index from this screen.
(Note: Only removal from the index will occur; the original file will not be deleted.)
Update the index within a folder at app startup
If you frequently update files within a folder, you can automatically re-register the index by registering index synchronization.
By registering index synchronization, the application will scan the contents of the files in the folder upon startup, and if there are updates, it will automatically re-register the index.
- Right-click on the target folder and select "Register this folder for indexing sync"
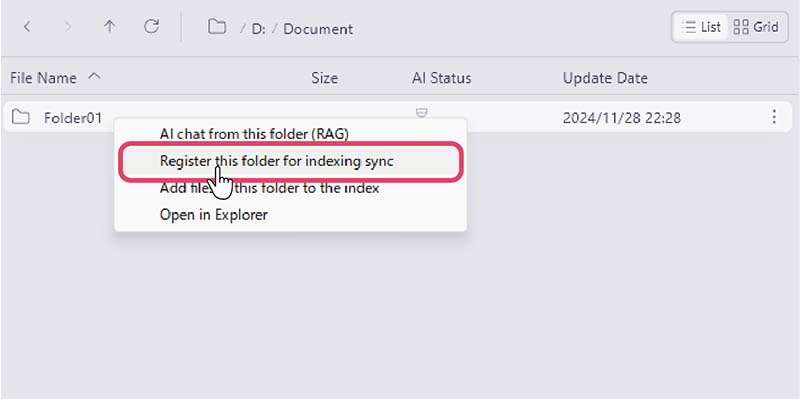
- When the application is launched, ailia DX insight will automatically scan the contents of the files within the folder and perform re-index registration if necessary.
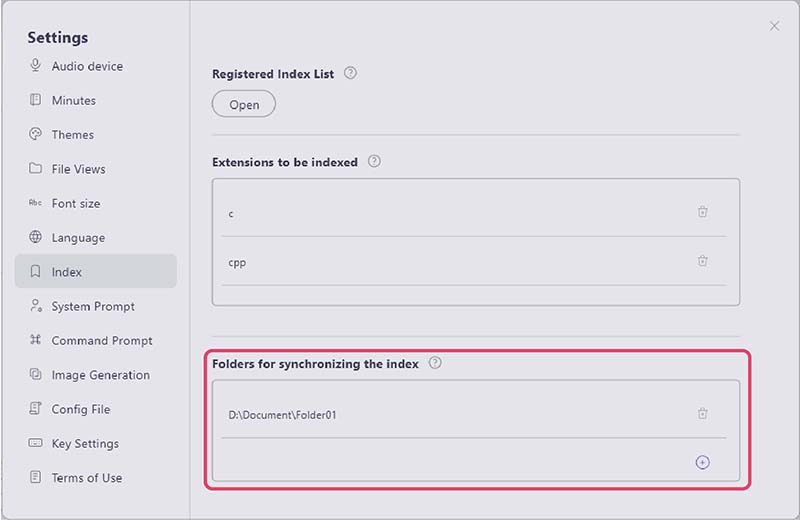
- You can unsubscribe from index synchronization from the "Index" item in the settings , specifically from the section "Folders for synchoronizing the Index".
Also, you can select a folder in this section to register synchronization.